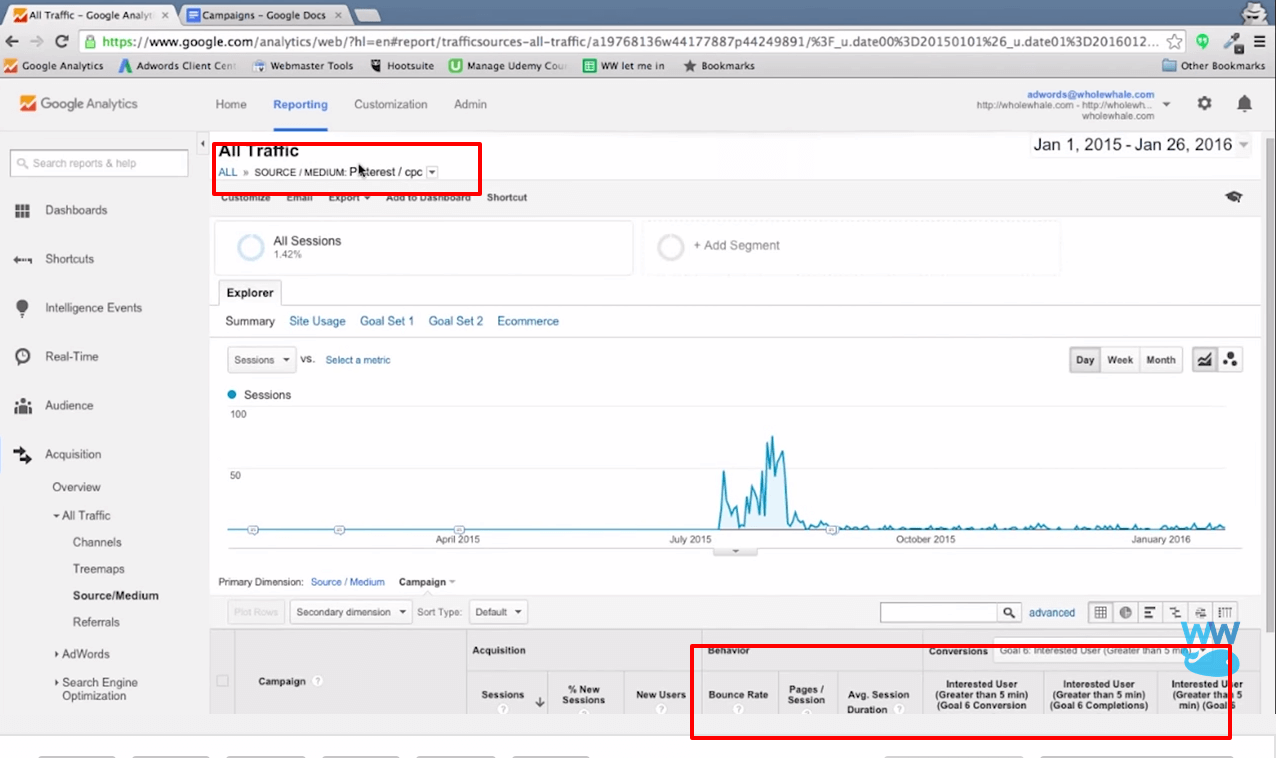
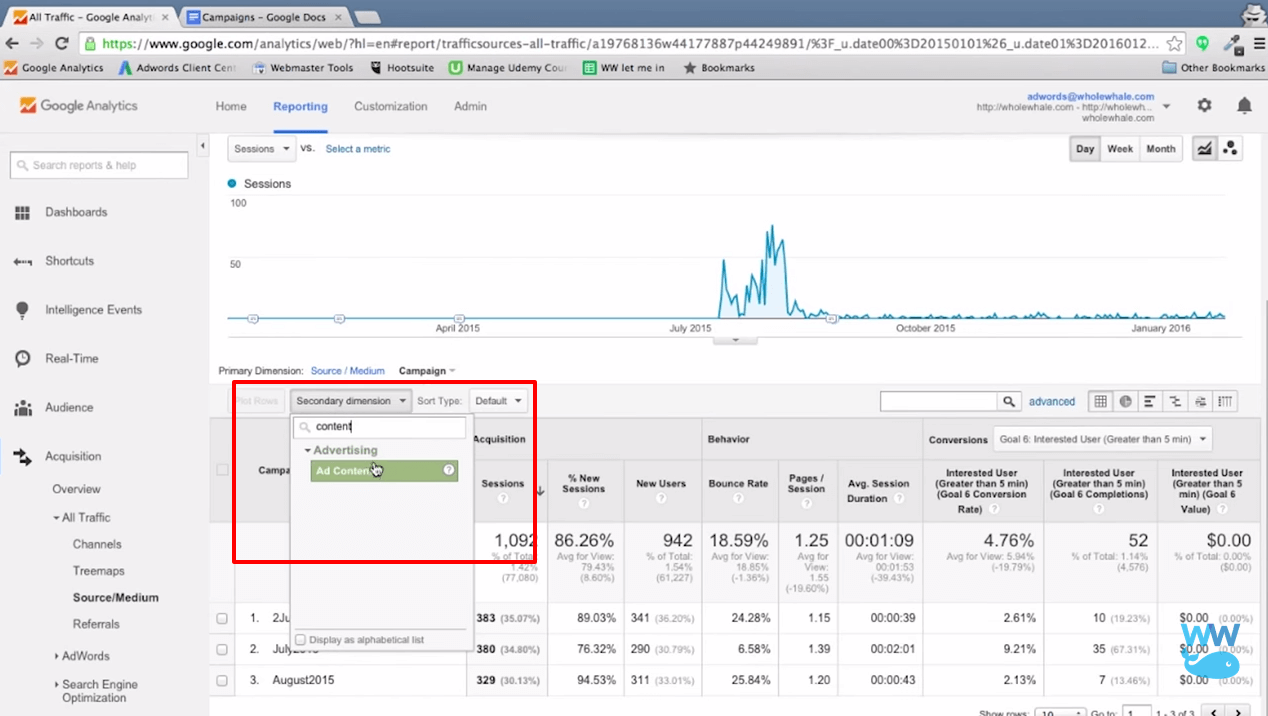
GA4 is a tremendous tool for analyzing the success of your campaigns, whether those be from advertising pushes, email blasts, or even in-person marketing efforts! In this article on how to find campaign data in GA4, we will start with reviewing that your tracking is properly established, then we will provide some tips, tricks, and insights for finding campaign data in GA4 itself.
Step 1: Ensure Proper GA4 Installation
GA4 is Google’s newest iteration of the Google Analytics platform. It is a robust system that provides long-term flexibility for marketers and Google alike, while future-proofing itself to comply with increasingly strict (and important) privacy regulations.
Before attempting to track your campaign, you must have GA4 properly installed on your website. Whole Whale (and Google’s) preferred method for installation is via Google Tag Manager (GTM). GTM helps you to easily deploy (and manipulate) the GA4 code without the need for a developer.
Whole Whale’s “Big Guide To GA4” is a one-stop shop for understanding how to install and use the platform. Curious how GA4 differs from the old Universal Analytics, check out Whole Whale’s article comparing the two platforms.
Step 2: Build Your UTMs Or Integrate Your Advertising Platform
The primary benefit of GA4 is that it is designed to help you evaluate ALL of your marketing channels (email, advertising, etc.) as well as your acquisition channels in one singular location. While of course, META, Snapchat, TikTok, etc. have their own separate tracking protocols and analytics platforms, GA4 is the industry standard for tracking in-bound marketing efforts from the browser-side.
If your primary advertising platform is a Google product like Google Ads, a simple integration (it’s incredibly easy to do in GA4 itself) will suffice for all of your campaign tracking needs.
However, if you wish to see advertising tracking from other platforms neatly appear in GA4, you will need to build custom UTMs to track in-bound marketing traffic.
UTMs (Urchin Tracking Modules) are snippets of code added to the end of URLs to track the performance of digital marketing campaigns. They’re important for several reasons:
- Campaign attribution: UTMs help identify which specific campaigns, sources, or channels are driving traffic to your website.
- ROI measurement: By tracking the source of your traffic, you can better understand which marketing efforts are most effective, allowing you to calculate return on investment.
- Customized reporting: UTMs allow for more detailed and accurate reporting in analytics tools like Google Analytics 4.
- Cross-channel insights: They help compare the performance of different marketing channels (e.g., social media vs. email marketing).
- Content performance: UTMs can track which specific pieces of content or ad creatives are performing best.
UTM tags are a specific set of parameters standardized by Google that can be added to a URL for marketing tracking:
- UTMs are like “directions” that help tracking tools like GA4 understand where a user came from when they clicked on the URL – especially from platforms (like most 3rd party ad platforms) that lack direct integrations with GA4.
- Most CRM and Analytics tools recognize them or help generate them because they are an industry standard!
- UTM tags are one of the leading solutions to the ban of 3rd party cookies
The primary UTMs that you’ll see included in URLs are:
utm_source (Required)
utm_medium (Required)
utm_campaign (Optional)
utm_content (Optional)
utm_term (Optional)
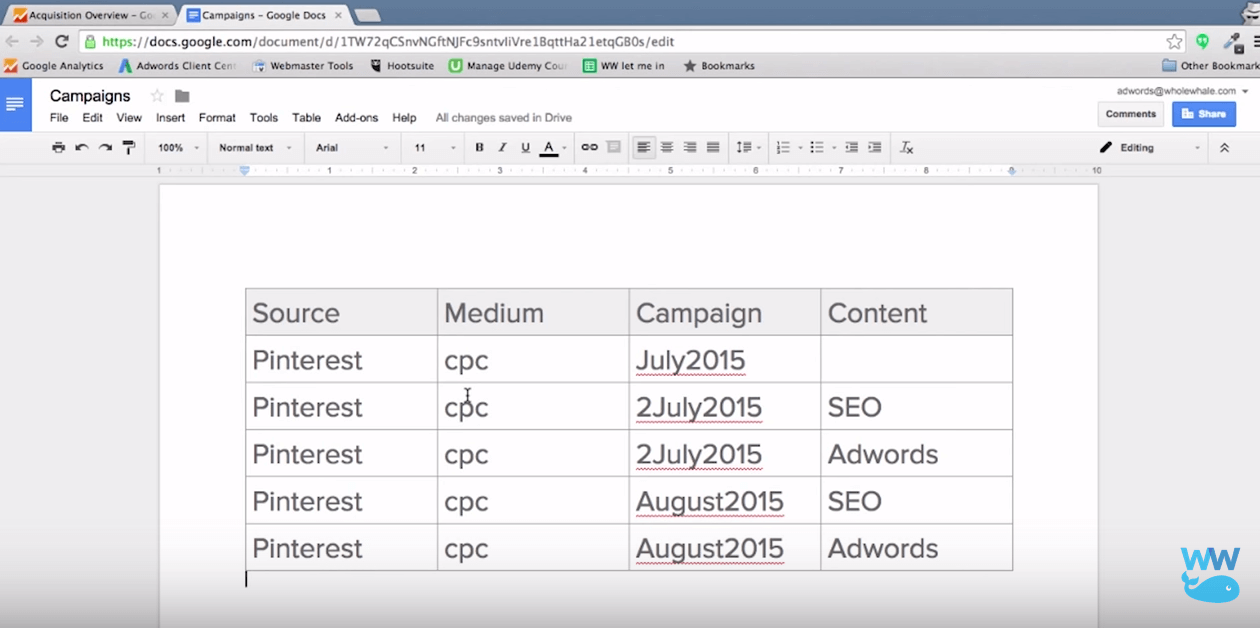
To add UTM parameters to *any* URL, simply format as ?utm_source=Facebook (or any other combination of parameter and value) and you’ve successfully tagged a URL! To add multiple parameters at once (remember, both utm_source and utm_medium are required) simply separate the above format with an “&” sign.
Here is a full UTM string for an advertising campaign for Abraham Lincoln T-Shirts:
?utm_source=Facebook&utm_medium=cpc&utm_campaign=abelincoln_sales&utm_content=make_tophats_cool_again
The full URL would look something like: https://www.abeLincolnismyhero.com/merch/shirt/?utm_source=Facebook&utm_medium=cpc&utm_campaign=abelincoln_2024_sales&utm_content=hero_shirt_variation
Each of these URLs will help you understand how your advertising campaign highlighting different products is performing, without relying on GA4 to track it automatically out of the box. With hardcoding marketing sources into URLs, anyone who clicks this URL will have these marketing sources applied, and you have taken the guesswork out of GA4’s tracking. GA4 cannot understand Facebook’s or TikTok’s or your favorite CRM’s proprietary tracking, but it CAN understand UTMs! Simply place your UTM-tagged URLs into your advertising platform of choice as the destination landing page and you’re good to go!
*Remember* that in GA4, sources and mediums are standardized – stick to standard industry-accepted nomenclature (I.e., facebook / cpc) so GA4 will understand your tagging out-of-the-box.
Want to build UTM-tagged URLs of your own? Google’s 100% free tool will do it for you! (Pro tip, we use spreadsheets to build them in bulk!)
Step 3: Analyze In GA4
Now that you’ve set up your UTM tracking, time to analyze the progress of your campaigns!
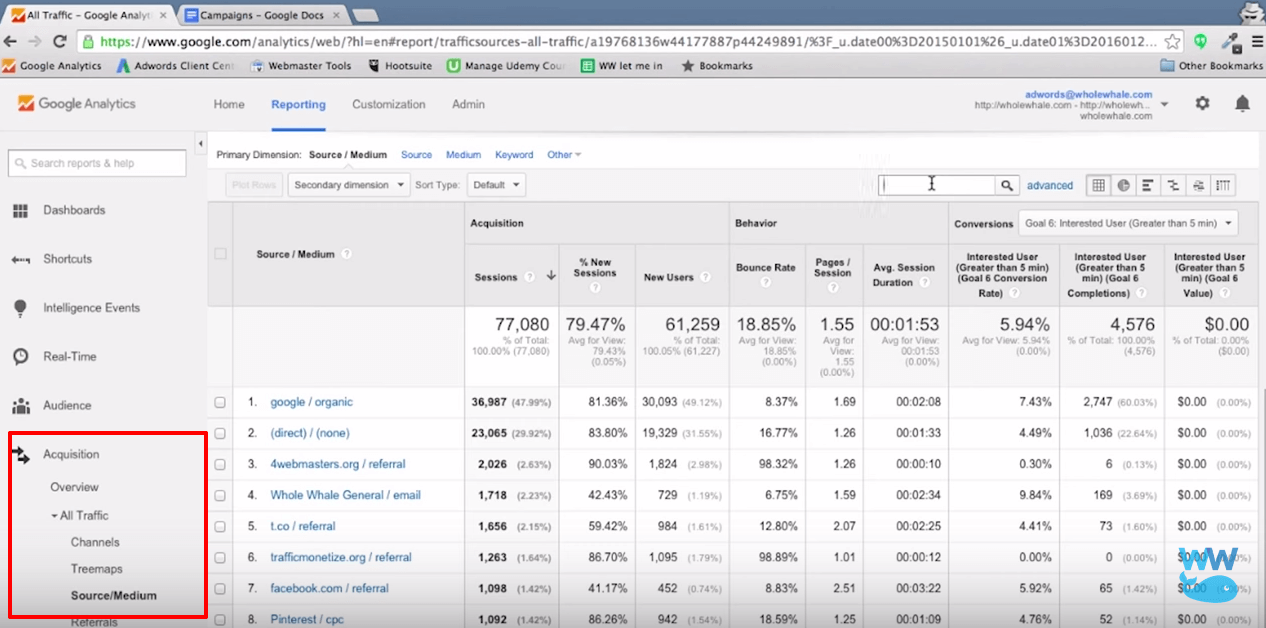
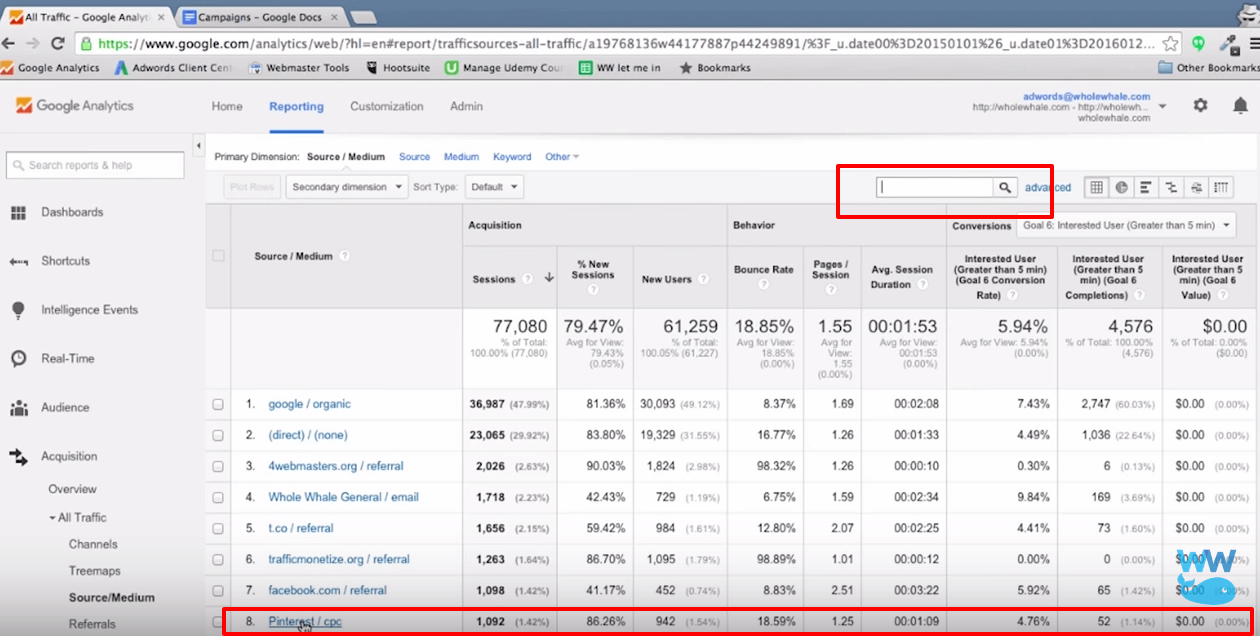
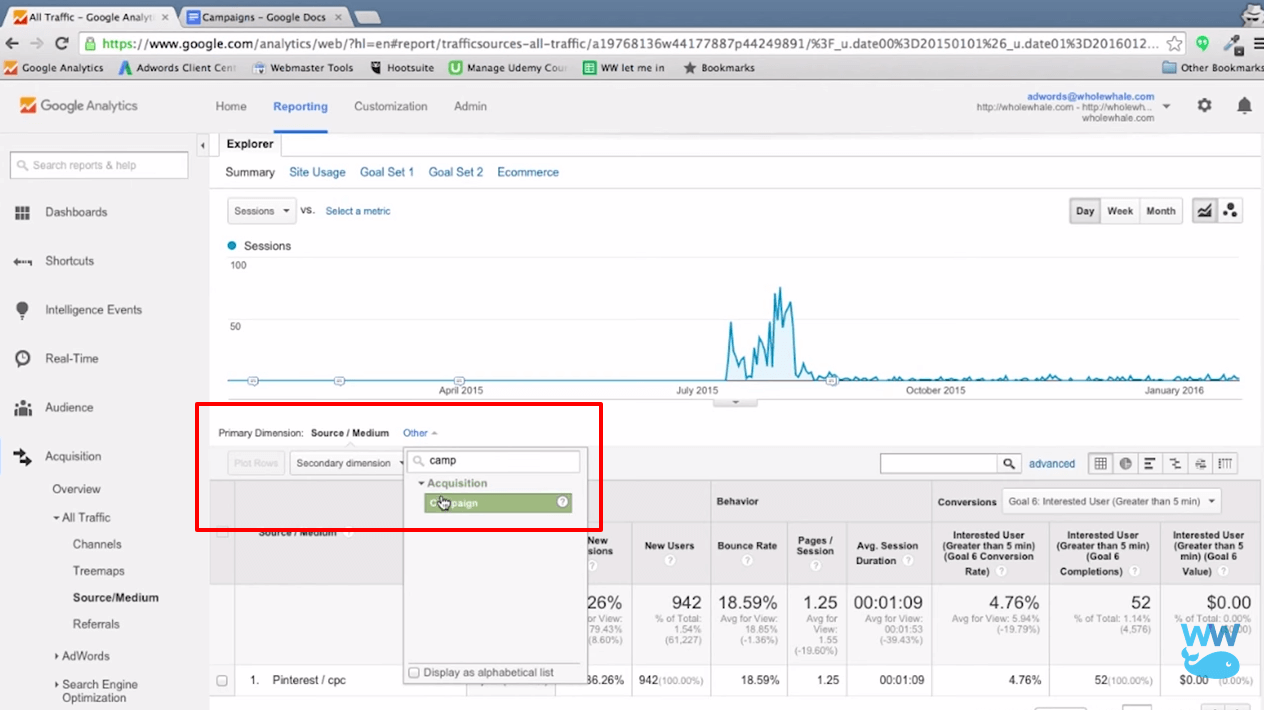
Perhaps the easiest and most straightforward way to see your campaign traffic is to view a session source / medium report in the “reports” tab. First, click “Reports” among the top-level menu navigation on the far left-side of GA4. Then, navigate to the “Acquisition” –> “Traffic Acquisition” –> “Session Default Channel Grouping” (If you don’t see this report, add via “Library” at bottom of the platform.) While channel groupings are helpful, they are too broad for our needs. Within this report, change the primary dimension to “session source / medium” and then the secondary dimension to “campaign.” Right off the bat, you should be able to search for your campaign!
NOTE: GA4 has upwards of a nearly 24-48 hour delay in terms of data freshness – don’t be alarmed if a campaign that just launched does not appear!
NOTE: GA4 dimensions are scoped differently based on the metrics you want to look at. (Aka, there are several different logic models.) Use “session”-scoped dimensions when looking at traffic acquisition. Use “user”-scoped dimensions when looking at user acquisition or engagement. Use “event”-scoped dimensions (dimensions w/o “session” or “user” in the name) for any conversion analysis. Awkward combinations of dimensions and metrics can lead to discrepancies based on incompatible logic models.
Next, let’s look at building a basic exploration to see our campaign data with more granularity.
First, go to “Explorations” in the far-left top-level menu navigation. Create a new exploration. Set your date range, title your exploration, and then import the appropriate dimensions. Because we want to scope this as a session-based report, we will import the dimensions of “session source / medium,” “session campaign,” “session manual term,” and “session manual ad content.” We will also want to import the metric of “sessions.”
Next go over to the “Settings” menu on the right, and click “Free Form” and then “Table.” Add the imported dimensions under “Rows” by clicking on the “Drop or Selection Dimension” button.
Scroll down within the “Settings” Column and then under “Values” click “Drop or Select Metric” and selection “Sessions.” If you’d like to add a filter, clicks “Drop or Selection Dimension” under “Filter” and then choose the 1) dimension you want to filter for, 2) the logic of how you want to filter and then 3) the value to filter for. Click “Apply.”
You will now be able to see a table with all the granularity of your custom campaign-tracked UTM-appended URLs!
NOTE: The GA4 UI is wonky. If data seems cut off, scroll left and right within the table.
NOTE: If you have more data but the table is only displaying 10 rows of data, you need to allow the table to show more rows of data. Go to “Show Rows” towards the top of the “Settings” panel and adjust.